

In the previous phases we created our supply chain scenario, specified customers, product and its parameters. In this phase we will add demand to our scenario and define its parameters.
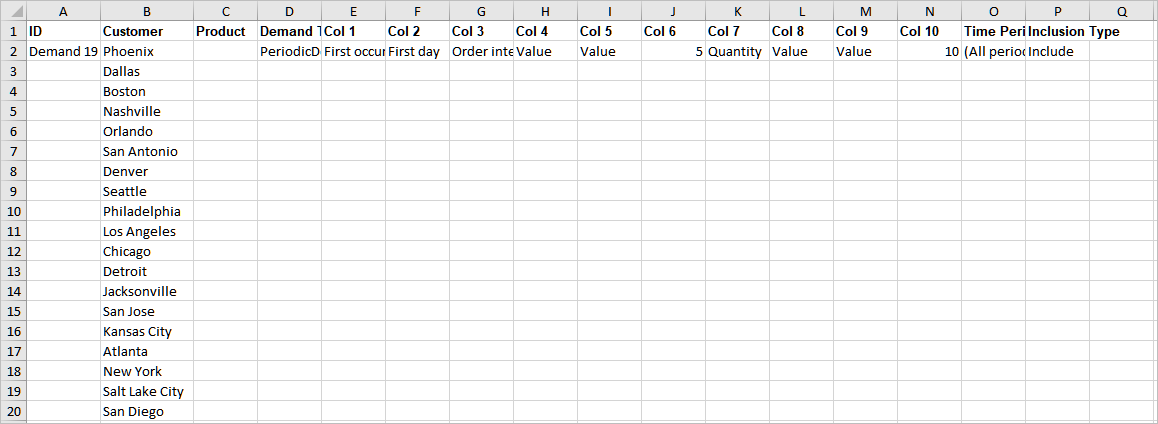
All demand related data is stored in the Demand table, which allows you to define the mechanism of forming a customer's demand for the product.
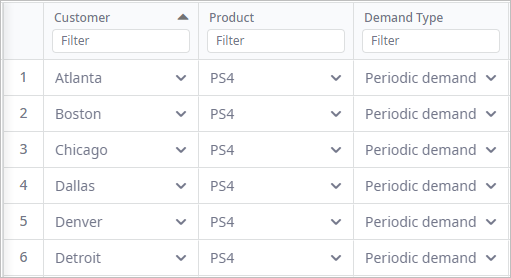
Navigate to the Demand table to define demand parameters for our customers step by step. If you have manually defined all the customers and their locations in the first phase of this tutorial, this table will contain the list of all the customers, however, if you have imported the customers and their locations from the MS Excel file, this table will contain only one record (with the manually created Washington DC customer). In the latter case we will have to create demand records for the rest of the customers. This can be done in two ways:
The hard way — applicable if a few records are required, presupposes hand labor.
- Click Add to create a record.
- Click the Customer cell and select a customer.
- Create the rest of the 19 records, specifying customer for each record.
The easy way — applicable if large number of records is required. This can be done by importing the modified MS Excel file.
- Open the previously downloaded My supply chain.xlsx file.
- Navigate to the Customers sheet and copy the cells containing the names of the customers.
- Navigate to the Demand sheet and paste the customers into the Customers column.
- Now copy the default demand data for the new customers.

- Save the changes and import the Demand table into the My Supply Chain scenario,
just like you have previously imported the customers and their location.
Define product
Since we deal with only one product at the moment, we will set it instantly for all our customers.
- Ctrl + click (macOS: Cmd + click) the Product column title to select product cells referring to all customers.
- Press Spacebar to open a dialog box.
- Click the product field and select PS4 from the drop-down list of all the currently available products.
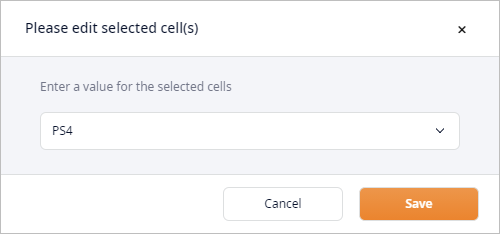
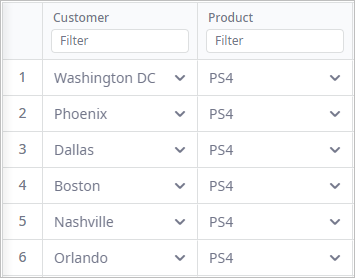
- Click Save to close the dialog box. You will see that PS4 product is now set for all our customers.
Define demand type
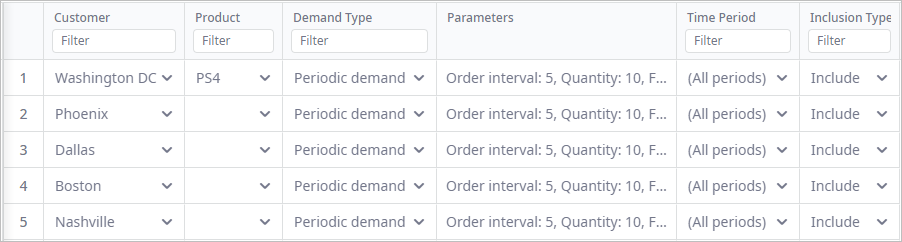
The next step is to choose demand type that we shall provide the data for. The Demand type column allows you to set the type by choosing between the two possible options:
- Periodic demand — allows you to configure demand of repetitive nature, i.e., a certain volume of products is ordered within a certain period of time.
- Historic demand — allows to configure demand with exact demand data (this could be order records from CRM).
We shall assume that our demand is of repetitive nature, i.e., a certain quantity of PS4 consoles is ordered within every certain period of time. That is why we shall leave the set by default Periodic demand type for all customers.
We can move on to define its parameters in the Parameters column.
Set demand parameters
Prior to setting demand parameters, we will sort our customers in the ascending alphabetical order to make it easier to work with this list.
- Click the Customer column title. The order of the customers will be rearranged.
Now we can define the properties of the previously selected demand type in the Parameters column for our Atlanta customer.
- Double-click the demand parameters of the first customer. A dialog box will open, prompting you to specify the following parameters:
- Order interval, days — defines the time period at which the specified Quantity of PS4 units is ordered.
- Quantity — defines the quantity of PS4 units that is ordered at every given Period.
Now we can define the properties of the previously selected demand type in the
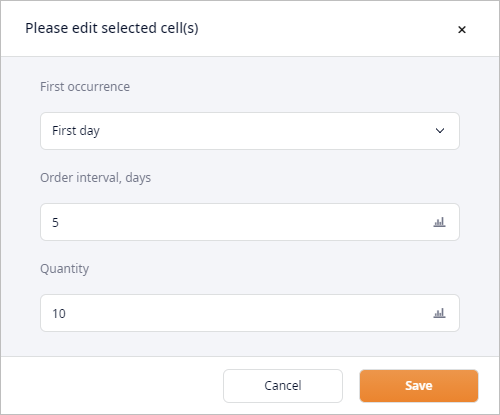
- In the Order interval, days parameter field type 3.
In this way we define the period of three days, during which certain number of consoles will be sold in Atlanta. - Press Tab to switch to the Quantity field and type 48.
In such a way we define that forty eight consoles will be ordered in Atlanta during the specified period of time. - Click OK to close the dialog box. You will see that the demand parameters for this customer are set now.

Demand Parameters can be set to a probability distribution as well. We will assume that our next customer will buy from 46 to 115 consoles every 2 to 5 days.
- Double-click the demand parameters of the Boston customer. A dialog box will open.
- Click the icon in the Order interval, days field to open the pop-up menu.
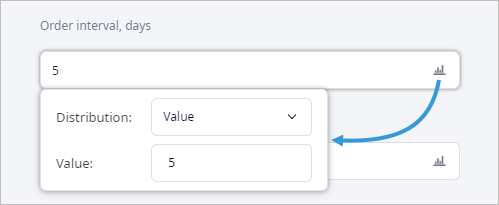
-
Click the Distribution drop-down list and select Uniform to open distribution parameters.
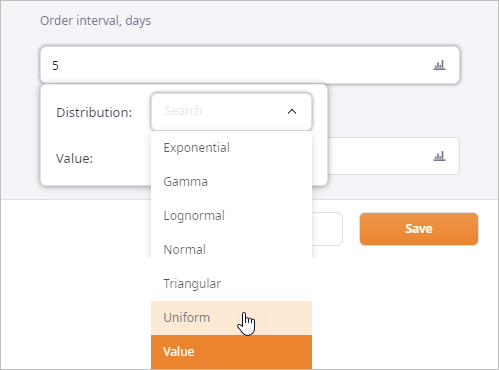
- Set Min to 2 and Max to 5.
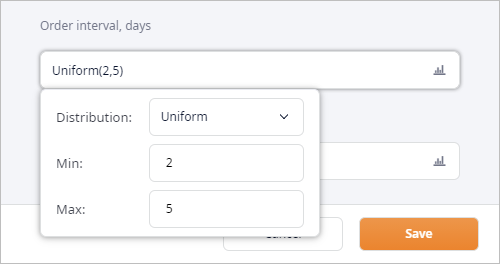
- In the same way define the probability distribution for the Quantity parameter. Set its Min to 46 and Max to 115.
- Click Save to save the changes and close the dialog box
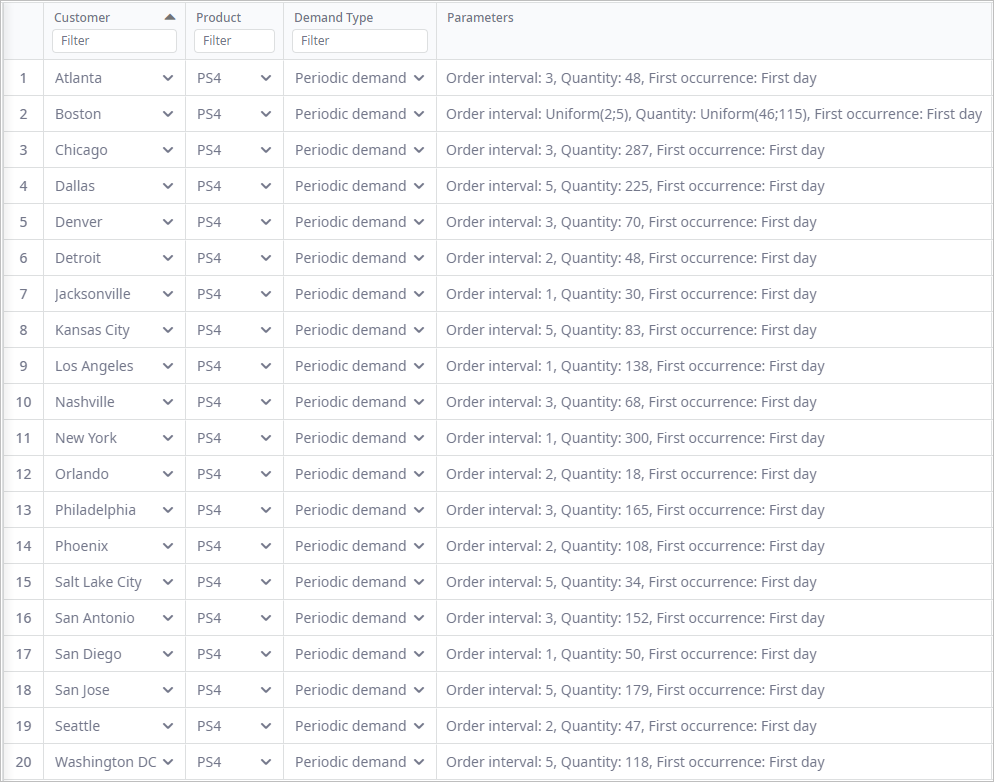
Now define demand parameters for all other customers.
As you understand, demand varies from customer to customer, which means that it cannot be the same. If you are using your own set of customers for this tutorial, you may specify your own data for every customer, but if you are working with the ones that we have created for this tutorial, we suggest that you should specify demand similar to ours:
We have provided all the necessary data and may finally run the GFA experiment.
-
How can we improve this article?
-